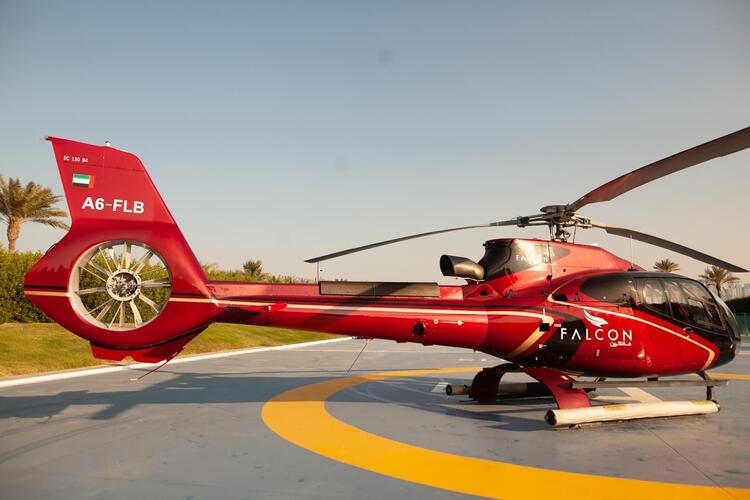
How to get the perfect Aerial Shot on your Helicopter Tour
Imagine soaring through the air, your heart pounding with excitement as you take in breathtaking views of the world below. Now imagine having the chance to capture these moments forever with your camera. That’s exactly what you can experience on a helicopter photo tour. Whether you’re an experienced photographer or simply want to preserve unforgettable memories, a helicopter photo tour offers a unique and exhilarating way to capture stunning aerial shots. From towering cityscapes to majestic natural wonders, the possibilities are endless.
Here are some essential tips to help you make the most of your helicopter tour photography:
Tips for How to Get Perfect Aerial Shot on Your Helicopter Tour
Getting the perfect aerial shot during a helicopter tour requires careful planning and consideration. Taking stunning Aerial helicopter photography with these tips:
Research the tour route
Before your helicopter tour, familiarize yourself with the route and landmarks you'll be flying over. This will help you anticipate photo opportunities and plan your shots accordingly.
Seat selection
If possible, try to secure a window seat on the helicopter. This will provide an unobstructed view and allow you to capture precise shots without the helicopter’s rotor blades or other passengers getting in the way.
Communicate with the pilot
Inform the pilot that you're interested in taking aerial photographs. They may be able to provide guidance on the best angles, altitudes, and maneuvers to capture impressive shots. Be sure to follow any safety instructions provided by the pilot.
Use a fast shutter speed
Helicopters can be quite shaky, so using a fast shutter speed will help freeze motion and reduce the chances of blurry images.
Mind the lighting
Pay attention to the direction and quality of light during your helicopter tour. Ideally, choose a time of day when the lighting is soft and warm, such as during the golden hour (shortly after sunrise or before sunset).
Frame your shots creatively
Look for interesting compositions and perspectives. Experiment with different angles, focal points, and framing techniques to add visual interest to your aerial photos. Include recognizable landmarks or patterns to provide context and scale.
Stabilize your camera
The vibrations and movements of the helicopter can lead to shaky images. Use image stabilization techniques such as bracing yourself against the helicopter's structure or using a tripod or a handheld gimbal stabilizer if allowed.
After Taking photos
After the tour, take the time to edit your photos using image editing software like Adobe Lightroom or Photoshop. Adjusting contrast, saturation, and sharpness can help enhance the overall impact of your aerial shots.
What is the best time of the day to take photos from a helicopter tour?
The best time of day to take photos from a helicopter tour is during the golden hour, which refers to the period shortly after sunrise or before sunset. This time frame offers soft, warm lighting conditions that can greatly enhance the visual appeal of your aerial photos. The low angle of the sun during these times creates longer shadows, adds depth to the landscape, and bathes the scenery in a beautiful golden glow.
During the golden hour, the light is generally more diffused and less harsh compared to the midday sun. This softer light provides more even illumination, reduces contrast, and brings out the colors and textures in your photographs.
In Conclusion, With Dubai’s stunning aerial views and unique perspectives, a Helicopter photo tour is the perfect way to capture unforgettable moments and create truly amazing photos. So get ready to soar to new heights and take your Aerial Tour Dubai to the next level!
Tags: How to get the perfect aerial shot on your helicopter tour, heli ride dubai, heli tour dubai cost,


